

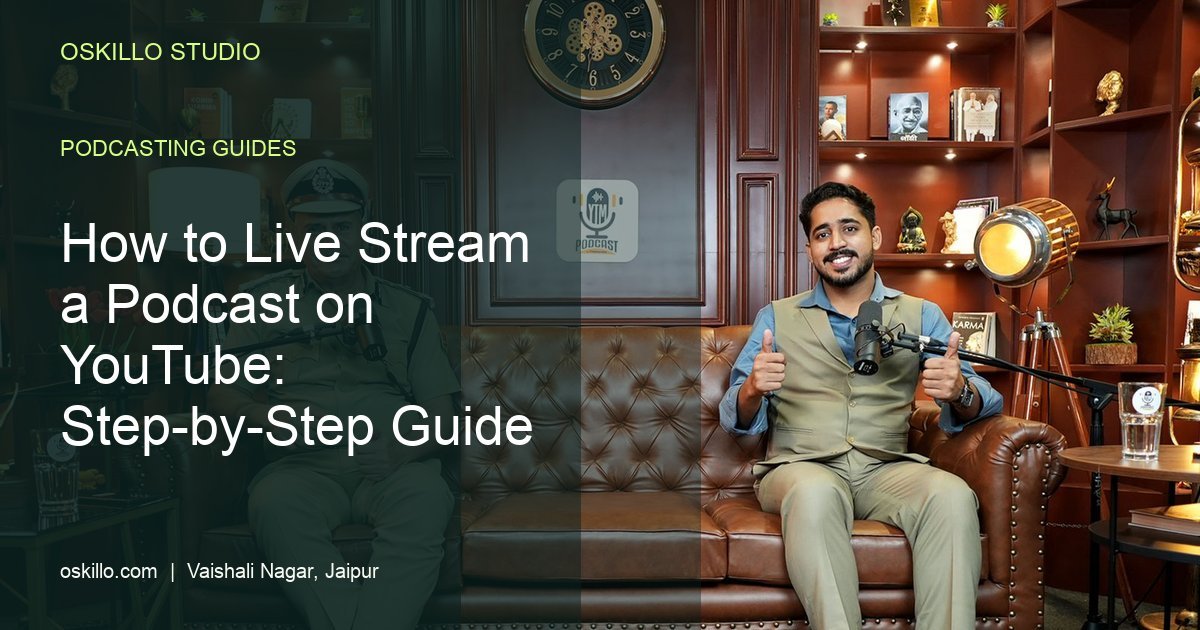
If you want to know how to live stream a podcast on YouTube, the process is simpler than most creators fear. You need a camera, a clean microphone, an encoder, a stable internet line and a test run before the real show. Pehle test, phir live. That one habit saves more episodes than any expensive gear. Below is the order we recommend, based on how we run sessions at Oskillo Studio in Vaishali Nagar, Jaipur.
Why bother going live at all? YouTube says podcasts have more than 1 billion monthly active viewers. Podder points out that this counts viewers of podcast content, not unique listeners of one show, and it is not deduplicated against Spotify or Apple (Podder’s breakdown). One third-party roundup also reports about 3.2x more real-time engagement on live video podcasts, but it shows no clear method, so treat that as indicative only. The practical upside is simple: a live chat gives you questions you can answer on air.
Key takeaways
- You can go live with one camera and one mic; multi-camera is an upgrade, not a requirement.
- Pick resolution, frame rate and bitrate that your upload speed can hold reliably, then check YouTube’s live table.
- Use a 2-second keyframe interval and a wired connection.
- Always run an unlisted test stream first.
- Keep a backup internet line and power backup for any show that matters.
- Clip the archived recording into Shorts right after the stream ends.
What equipment do you need for a YouTube live podcast setup?
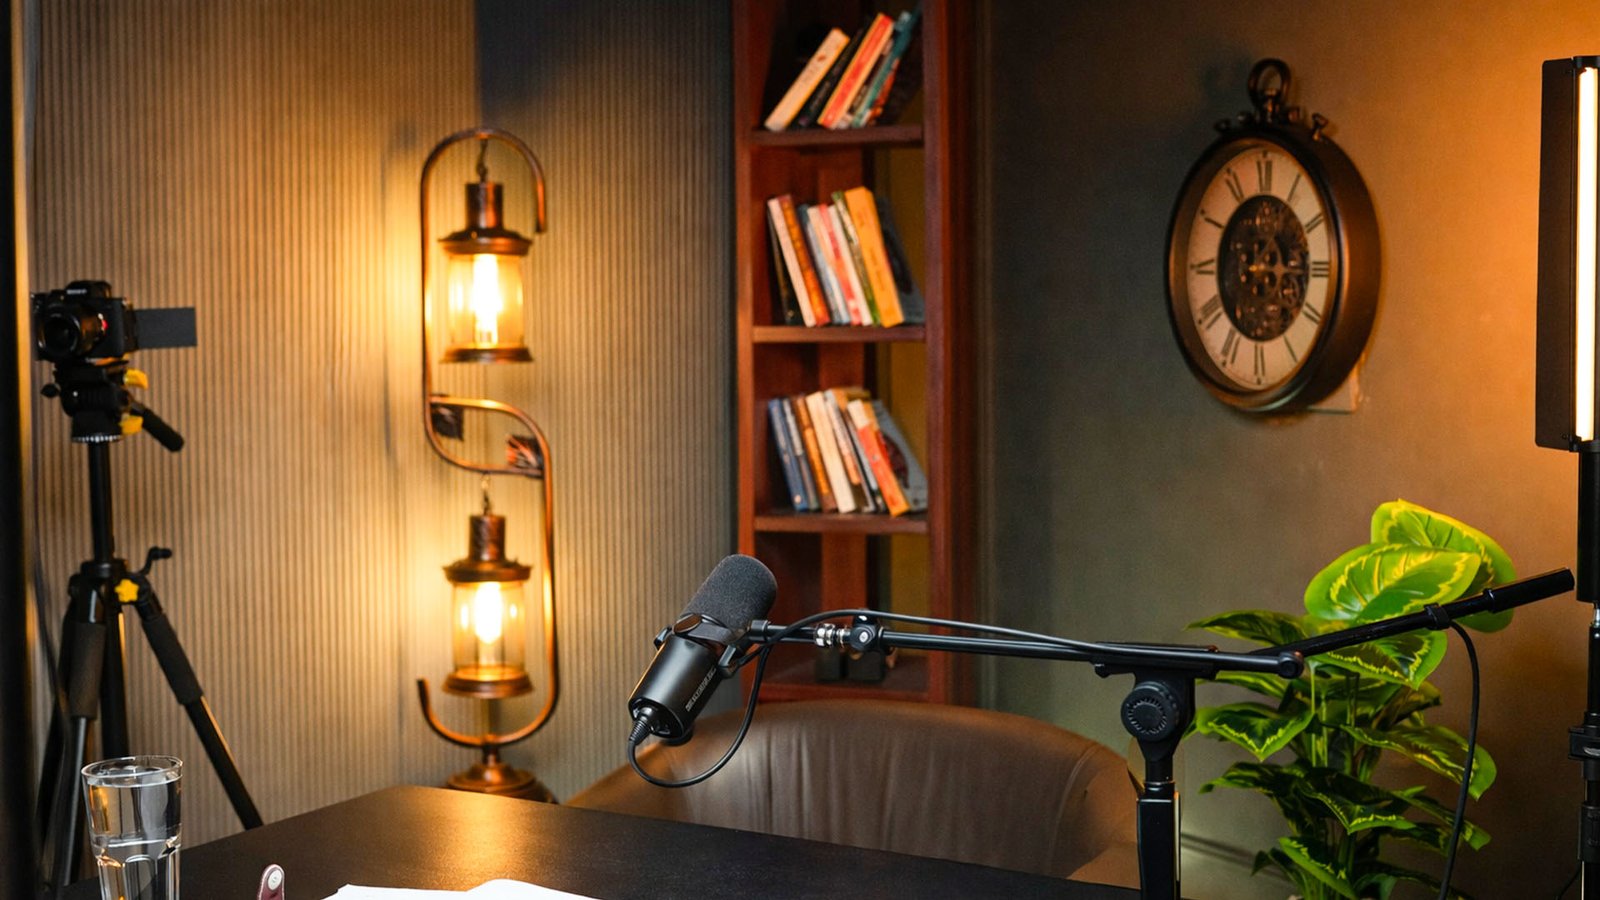
For a YouTube live podcast setup you need at least four things: a camera, a microphone, a way to send video to YouTube (an encoder like OBS or a hardware switcher) and a stable wired internet line. Everything else is comfort. Start small, then add cameras and a mixer as the show grows.
| Part | Starter setup | Studio-style setup |
|---|---|---|
| Camera | One webcam or phone | 2-3 mirrorless cameras |
| Audio | USB mic | XLR mics plus a mixer or recorder |
| Switching | OBS on a laptop | Hardware or software switcher |
| Internet | Wired broadband | Wired broadband plus 4G/5G backup |
| Power | Laptop battery | UPS for router, laptop and lights |
On our own show we shoot with the Sony A7 IV and the Sony A7C. For audio, the Shure SM7B with a RODECaster Pro II is our Business Class pairing. If you are on a tighter budget, the Zoom PodTrak P8 is a sensible recorder. If you are still planning your budget, our FAQs answer common questions from beginners.
How to live stream a podcast on YouTube: what are the steps?
Open YouTube Studio, create a live stream, add your title and thumbnail, copy the stream key into your encoder, set a bitrate your connection can hold, and test it as unlisted before you go public. YouTube detects your settings and transcodes the stream for viewers.
- Check eligibility. Live streaming eligibility and subscriber requirements change, so check YouTube Help for the current rules instead of trusting old forum answers.
- Create the stream. In YouTube Studio choose Go live, then Stream. Write a clear title, add a thumbnail and decide on a schedule so people can set a reminder.
- Connect your encoder. Paste the stream key into OBS or your hardware switcher. YouTube supports RTMP or RTMPS ingest with H.264, H.265 or AV1, up to 60 fps.
- Choose your OBS settings for a YouTube live podcast: bitrate and keyframes. Use constant bitrate (CBR) and a 2-second keyframe interval. YouTube lists 720p30 at 3 Mbps minimum and 8 Mbps recommended, and 4K60 at 14 Mbps minimum and 50 Mbps recommended for H.264. Third-party sites disagree on 1080p60, so read YouTube’s own table before you go live.
- Pick a latency mode. Lower latency makes live chat feel quicker. Normal latency gives you more buffer if your line is shaky.
- Run an unlisted test. Stream for ten minutes, watch it on a phone on mobile data, and check sound and dropped frames.
- Go public. Welcome the chat in the first minute and say clearly how viewers can ask questions.
Do you need OBS? Not always. A single camera can stream straight from YouTube Studio. But OBS is the usual free choice once you want scenes, overlays or more than one camera.
How do you stream a podcast with multiple cameras?
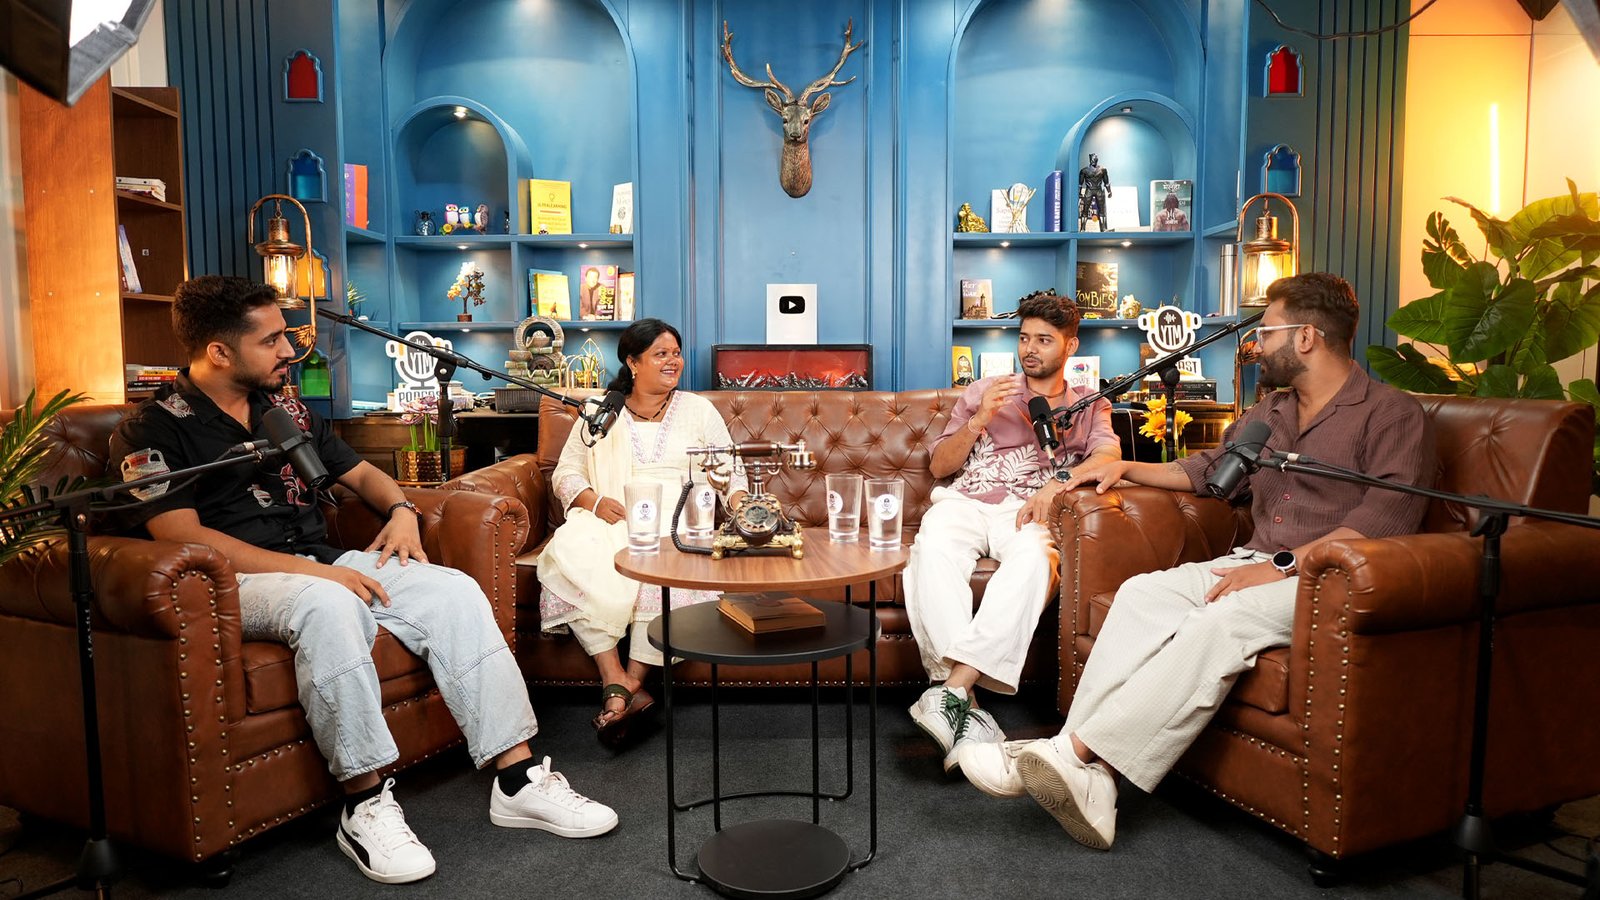
To stream a podcast with multiple cameras, feed each camera into one switcher (software like OBS with capture cards, or a hardware unit), build a wide shot and one close-up per speaker, and send a single mixed audio feed to the stream. Keep audio separate from the camera cut.
- Decide the shots. For a two-person show, use one wide and two close-ups. For a panel, add a second wide angle.
- Match the cameras. Same frame rate, same colour profile and similar white balance, so cuts do not jump.
- Connect to the switcher. HDMI into a hardware switcher or capture cards into your laptop.
- Build scenes. Make a scene for each shot and label them clearly so the operator can cut fast.
- Take audio from the mixer, not the cameras. Mic audio should stay constant whichever camera is on screen. Camera audio is only a backup track.
- Assign an operator. The host should talk, not switch. One person cuts, another watches chat.
Software switching is cheaper and flexible. A hardware switcher (an ATEM Mini-style unit, for example) is more stable because it does not depend on your laptop’s load. Pick based on how much failure you can tolerate mid-show.
What audio levels should you use for a live podcast?
For a live podcast, set each voice so normal speech averages around -18 dB and the loudest peaks stay below -6 dB on your mixer or in OBS. Never let the meter touch 0 dB. A live stream cannot be fixed afterwards, so leave headroom.
These numbers are our working rule of thumb, not a YouTube requirement. Here is how we apply them:
- Set gain while the guest talks. Ask them to speak at their normal energy, not a polite “testing, one two”.
- Use a limiter on the master output. It catches a sudden laugh or a table thump before it distorts.
- Monitor on headphones. Someone should always listen to the actual stream audio, not only watch the meters.
- Use mix-minus for remote guests. The guest hears everything except their own voice, which prevents echo. Without it, they will hear themselves with a delay.
What internet speed and backup internet do you need for a podcast live stream?
You need an upload speed comfortably above your stream’s total bitrate, on a wired connection. YouTube Help advises running a speed test and choosing a quality your connection can hold reliably. Download speed matters far less than upload. Keep Wi-Fi out of the chain and have a second connection ready for important shows.
Two third-party rules help with sizing. One guide says upload should exceed your total bitrate by at least 20%. A calculator adds a bigger margin and arrives at about 21.2 Mbps for one 1080p30 feed. Treat these as planning guides, and test your own line.
| Risk | Backup |
|---|---|
| Fibre line drops | Second ISP or a 4G/5G hotspot ready to switch |
| Wi-Fi congestion | LAN cable straight to the router |
| Power cut | UPS for router, laptop and switcher |
| Stream crashes | Local recording running at the same time |
Power cuts and router resets can end a stream in seconds, so keep the router on the UPS too. It is cheap insurance.
What should be on your pre-live checklist?
Your pre-live checklist should cover audio, video, internet, power and chat. Ten minutes of checking before you press Go live prevents most on-air disasters. Work through it in order, with the host and the person running the stream both present, so nothing depends on one person’s memory.
- Run an unlisted test stream and watch it on a phone.
- Confirm the speed test, and plug in the LAN cable.
- Check mic levels with every speaker, plus headphones.
- Confirm camera framing, battery or power, and memory cards for a local recording.
- Switch off notifications on the streaming laptop.
- Keep copyrighted songs and film clips out of the stream, to avoid claims.
- Prepare a few Hindi and English chat greetings, and name one person to moderate.
- Schedule the stream so viewers can set reminders.
How do you repurpose a live stream into Shorts and clips?
Once the stream ends, use the archived recording to cut vertical clips for Shorts. YouTube’s Clip tool makes snippets of roughly 5 to 60 seconds, and longer cuts need the full recording. Check YouTube’s current Shorts length rules before publishing.
YouTube is also rolling out automatic highlights for livestreams, which you can preview on the mobile recap screen. For manual clipping, one editorial rule of thumb is about one publishable clip per 5 to 10 minutes of stream. It is a guideline, not data.
Pick moments with a clear question and a clear answer. Put a hook in the first line, add captions and export in 9:16. Post within a day or two, while the topic is still fresh.
Live podcast studio in Jaipur: how we set it up at Oskillo
Oskillo Studio in Vaishali Nagar, Jaipur is a soundproof, acoustically treated podcast studio, open every day from 10 AM to 8 PM, with themed sets, Sony 4K cameras and Shure microphones. If you plan to stream live from the studio, message us before booking so we can confirm the setup and internet for your session.
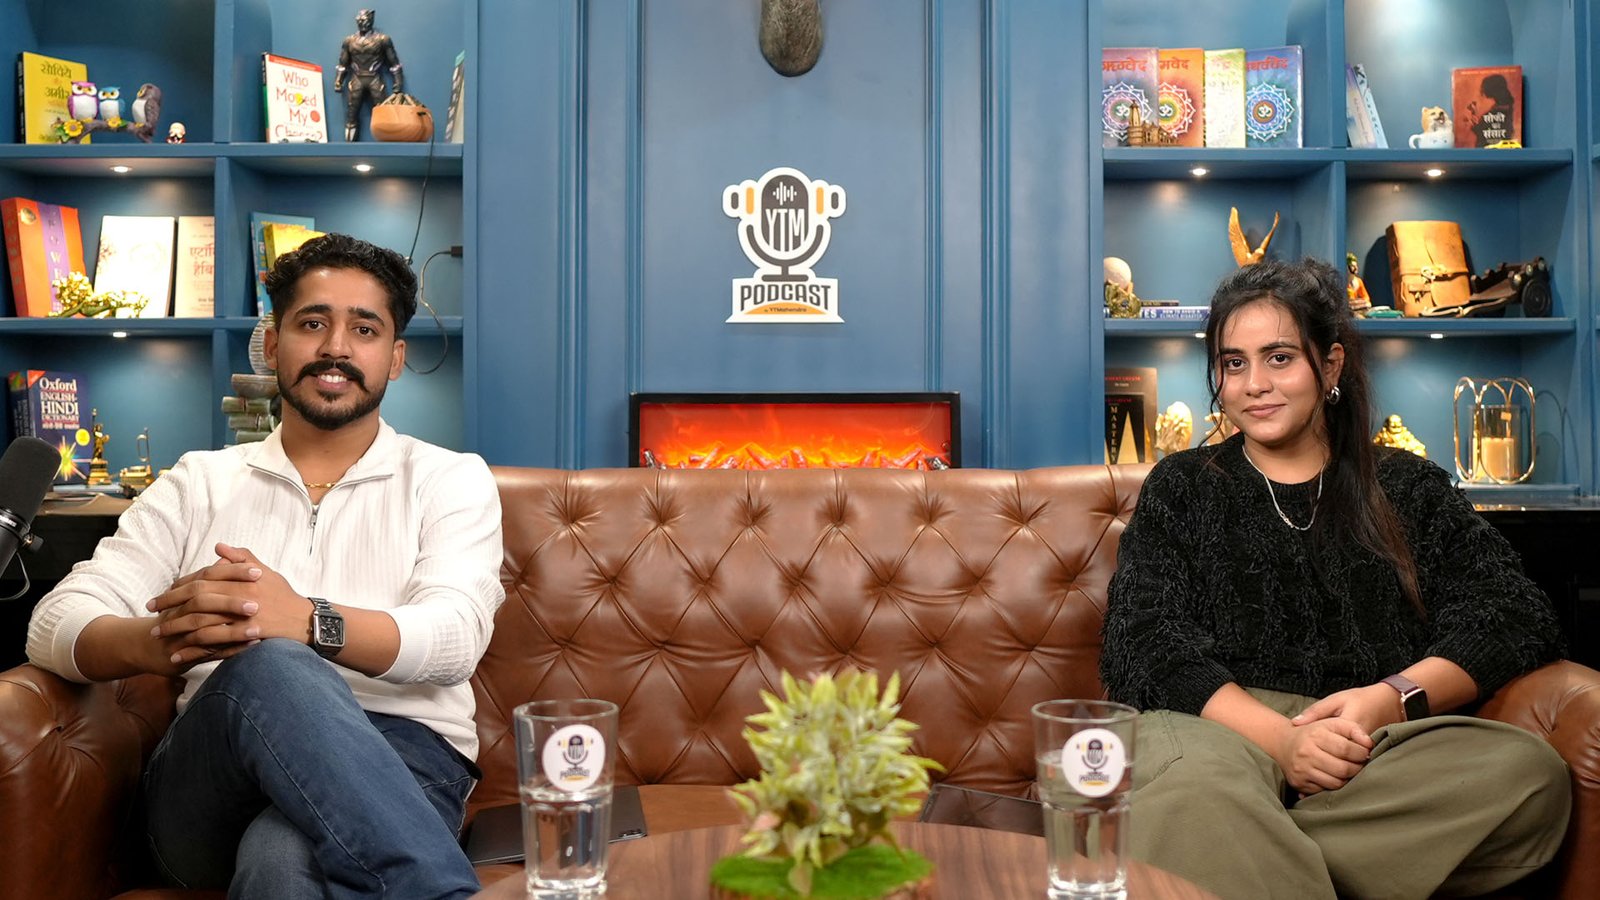
Our process starts with concept and question flow, then mic, light and camera checks before anyone sits down. During production we shoot 4K multicam with live monitoring, and the founders are present at every shoot to guide you. Beginners are welcome.
On price, Oskillo Studio charges Rs 4,000 per hour for Economy Advance (2 Sony 4K cameras, Shure mic, recorder, lights and a technician) and Rs 8,000 per hour for Business Class Advance. You can add a camera for Rs 1,000 per hour. See the full podcast studio pricing in Jaipur and our studio rental page.
After the show, our editing team can cut reels (Rs 1,500 each) or the Complete Podcast Edit (Rs 10,000), which includes the main edit, a highlight, 3 reels with covers and 2 thumbnails. To plan your live show, message us on WhatsApp or use the contact page.
Some product links on this page are Amazon affiliate links. As an Amazon Associate, YTMahendra Podcast earns from qualifying purchases, at no extra cost to you.
Frequently asked questions
How do I live stream a podcast on YouTube?
Create a live stream in YouTube Studio, copy the stream key into OBS or a hardware switcher, connect your camera and mic, set a bitrate your upload speed can hold, and run an unlisted test. Then go public, greet the chat and keep the recording for clips.
Do I need OBS to live stream a podcast?
No. You can go live straight from YouTube Studio with a webcam or phone. OBS becomes useful when you want multiple cameras, overlays or scenes. A hardware switcher is another option if you prefer not to depend on a laptop during the show.
What internet speed do I need to stream on YouTube Live?
Your upload speed should comfortably exceed your stream bitrate. One guide suggests keeping it at least 20% higher than the total bitrate. Run a speed test, pick a quality your line can hold reliably, and use a wired connection.
Can I live stream a podcast with multiple cameras?
Yes. Connect each camera to a switcher, either software like OBS with capture cards or a hardware unit, and build one scene per shot. Take audio from one mixer so the sound stays steady whichever camera is on screen.
What is the best bitrate for YouTube Live?
It depends on resolution and frame rate. For H.264, YouTube lists 720p30 at 3 Mbps minimum and 8 Mbps recommended. Sources disagree on 1080p60, so check YouTube Help’s live table and choose a value your connection can sustain.
How do I turn a YouTube live stream into Shorts?
After the stream ends, use YouTube’s highlight or Clip tools for short snippets, or download the archived recording and cut vertical 9:16 clips in an editor. Check YouTube’s current Shorts length rules before publishing.
Podcast live karne ke liye kitne cameras chahiye?
Ek camera se bhi live ja sakte hain. Do ya teen cameras ho to show professional lagta hai: ek wide shot aur har speaker ke liye ek close-up. Pehle ek camera se test karo, phir cameras badhao.
Book your session at Oskillo Studio
Soundproof sets, 2 Sony 4K cameras, Shure mics and an on-site technician in Vaishali Nagar, Jaipur. Studio rent starts at Rs 2,000 per hour.
WhatsApp +91 96101 80066 | See all prices | 3rd Floor, VR Theme Park, Gandhi Path, Vaishali Nagar, Jaipur